The monday.com Setup Checklist for a New Small Business
monday.com
Resources

The monday.com Setup Checklist for a New Small Business
A clean monday.com setup is the difference between a tool your team actually opens every morning and another tab nobody checks. I have lost count of how many clients came to me after a do-it-yourself attempt that turned into forty half-built boards and no clear place to look. The good news is that a proper monday.com setup is not complicated. It just needs to be done in the right order.
This is the same checklist I walk a new client through when we build their account from scratch. Follow it top to bottom and you will end up with something simple enough to maintain and structured enough to grow. I have kept it practical and non-technical on purpose, because that is who I build these for: owners and operators, not software people.
Before you build: get the foundation right
Before you create a single board, decide two things. First, who is going to use this, and second, what is the one job you need it to do in month one. A new small business does not need a system that runs every department on day one. It needs one workflow that works, that the team trusts, and that you can build on.
A quick note on plans, because it affects your monday.com setup. The free plan covers up to two people, and every paid plan starts at a three-seat minimum, so a solo owner still pays for three. For most of my small-business clients the Standard plan is the right starting point, because that is the tier where automations, integrations, and the timeline view switch on. Basic is fine if you only need shared boards with no automation, but most teams outgrow it quickly. Confirm current per-seat pricing on monday.com before you commit, since the tiers change.
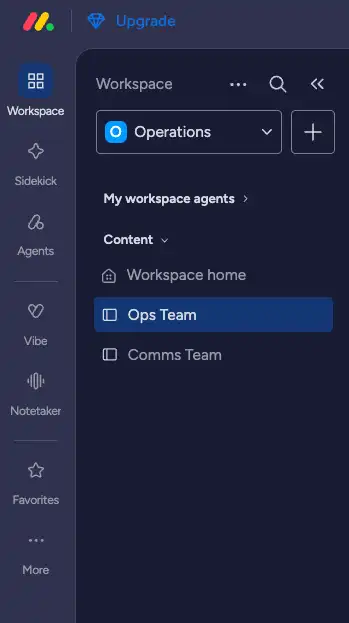
Step 1: Set up your workspace structure
Workspaces are the top level of your account, the big containers everything else lives in. Resist the urge to make a dozen. A new small business usually needs one or two: often a main workspace for the business, and maybe a second for anything client-facing or confidential. Name them plainly. "Operations" beats "Workspace 1" every time.
Inside a workspace you will have folders and boards. Think of folders as the drawers and boards as the files inside them. Sketch this on paper first. If you cannot explain your structure to a new hire in one sentence, simplify it.
Step 2: Build your first board the right way
A board is where the actual work lives. Each row, called an item, is one thing you are tracking: a client, a project, an order, a task. The columns describe that thing.
Start with one board for your single most important workflow. Group your items into clear stages using groups, which are the colored section headers down the left. For a project board that might be "To do," "In progress," and "Done." For a sales board it might be pipeline stages.
Then add columns, and here is where new accounts go wrong: people add too many. Start with a handful that you will genuinely update. A Status column for where things stand, a Person column for who owns it, a Date column for when it is due, and maybe one or two specific to your work. You can always add more once the team is using it. An empty column nobody fills in is just clutter.
Step 3: Choose the views your team will actually use
Every board opens as a table by default, but the same data can be shown several ways. The table view is your workhorse. Add a Kanban view if your team thinks in cards moving across stages. Add a Calendar view if dates shape your work. For a brand-new monday.com setup, two views per board is plenty. More than that and people stop knowing where to look.
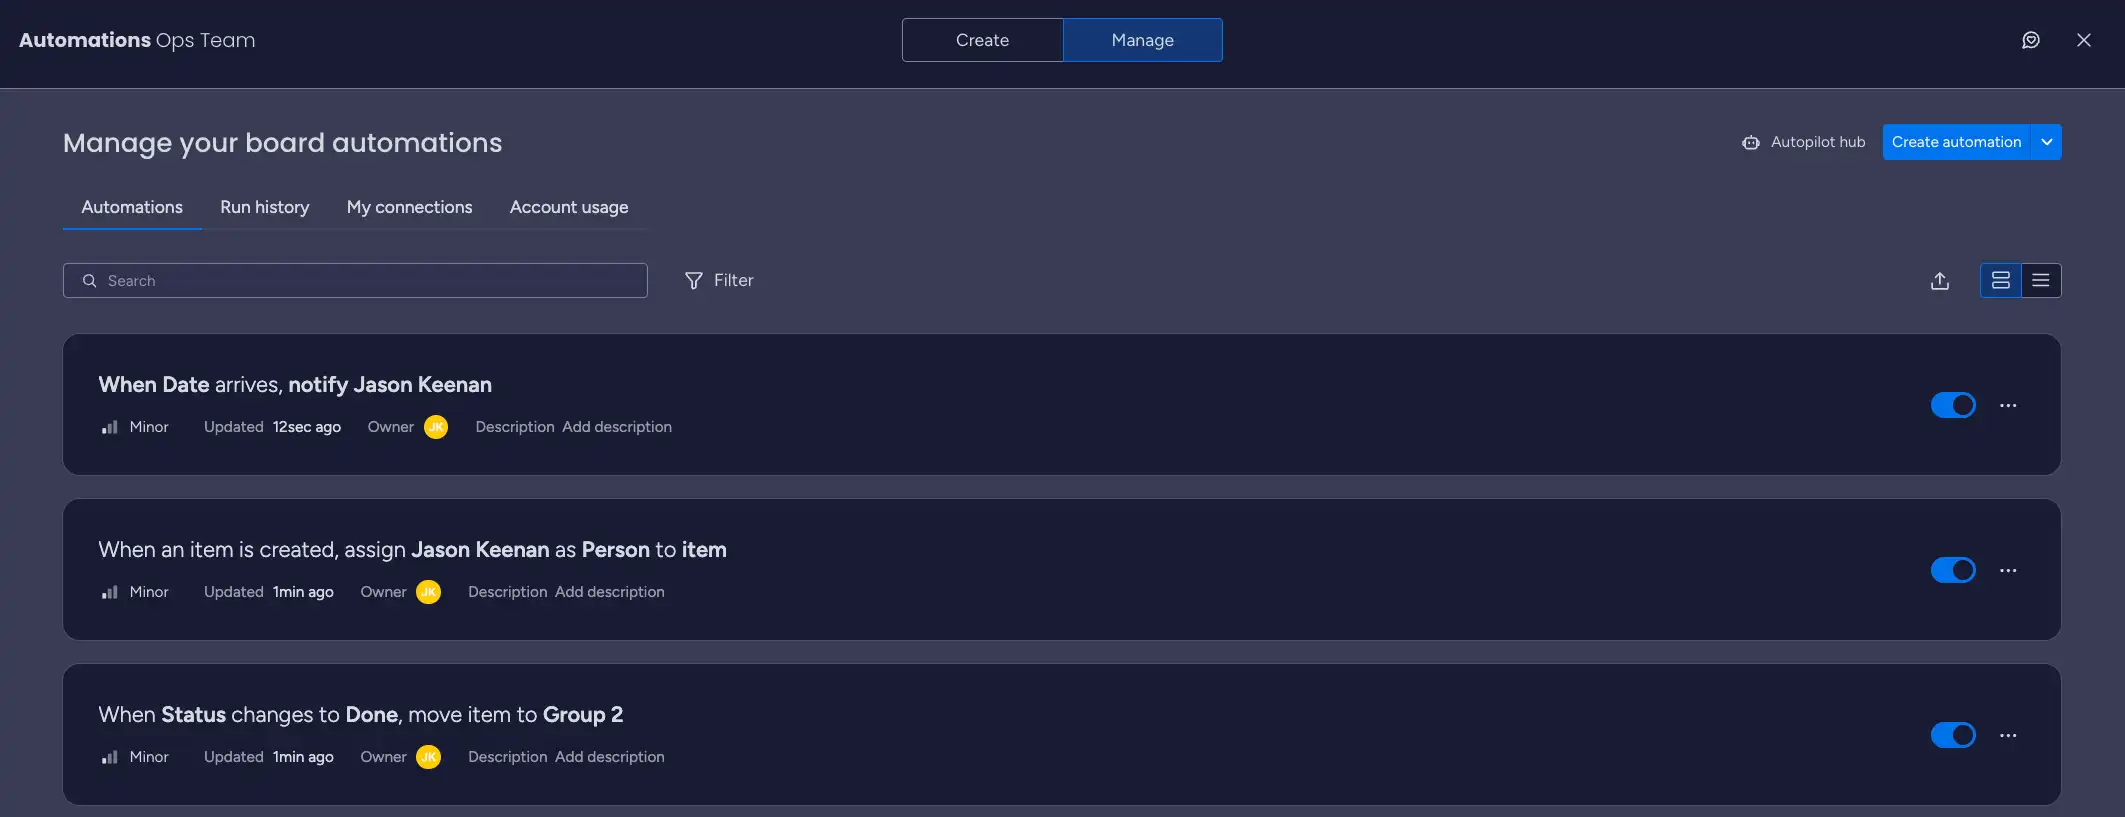
Step 4: Turn on a few automations
This is the part that earns the subscription, monday.com has built-in automations you switch on without any code: when a status changes to Done, notify the owner; when a date arrives, mark the item as due; when an item moves to a group, assign a person. Start with two or three that remove a task you currently do by hand. Do not switch on twenty at once, because if something behaves unexpectedly you want to know which rule caused it. On the Standard plan you get a monthly cap on automation runs, which is more than enough for a small team finding its feet.
Step 5: Invite your team and set permissions
Add your people, but be deliberate about access. Full members can edit; guests can see only what you share with them, which is how you bring in a client or contractor without opening your whole account. Walk the team through the one board they need on day one, not the entire system. Adoption comes from one habit that sticks, then another.
Step 6: Set your review rhythm
A monday.com setup is not "set and forget." Put fifteen minutes in your calendar each week to look at what is working and what nobody is using. In the first month you will trim columns, rename a group, and retire a view that seemed clever but went unused. That is the system settling in, and it is exactly what should happen.
The short version
Decide who and why, keep the workspace structure flat, build one board with a few real columns, pick two views, switch on a couple of automations, invite people carefully, and review weekly. That is a monday.com setup that a small business can actually live with.
Frequently asked questions
How long does a monday.com setup take for a small business? A focused first build is a few hours, not weeks. One workspace, one or two boards, the columns you will really use, and a couple of automations. The mistake is trying to map your entire business at once. Start with one workflow, get the team using it, then expand.
Which monday.com plan should a new small business start on? Most of my clients land on Standard, because that is where automations, integrations, and the timeline view become available. Basic works if you only need shared boards. Remember the three-seat minimum applies to every paid plan, so even a solo owner pays for three seats. Check current pricing on monday.com before deciding.
How many boards should I create? Fewer than you think. One board per real workflow. A new account with forty boards is almost always a sign that structure was skipped. If two boards track nearly the same thing, merge them.
Can I set up monday.com myself or do I need help? Plenty of owners set up a solid basic account on their own with a checklist like this one. The reason clients bring me in is to skip the rebuild, structure it so it scales, and get the automations doing real work from week one. If you would rather not learn by trial and error, that is where a partner helps.
Want your account built right the first time?
A good monday.com setup pays you back every single week in time you stop wasting. If you would rather have a certified monday.com partner build the foundation with you, so it is clean, simple, and ready to grow, I would be glad to help. Tell me about your business and I will map a starting structure with you. Reach out at https://makeitflow.ca/contact-us/.
