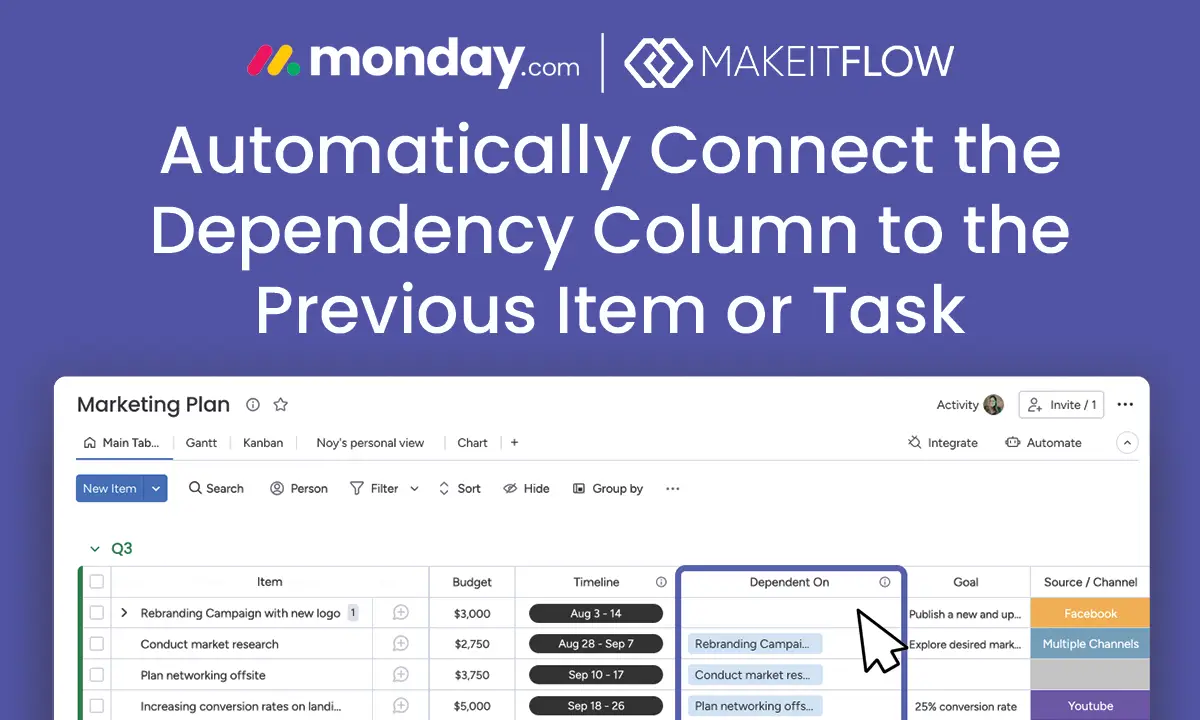
I’ve seen many organizations struggle to fully leverage the potential of monday.com’s dependency column. One common request from my clients is to automatically set up dependencies between tasks without manual input. This becomes particularly challenging for teams managing large projects with numerous items or tasks that need sequential relationships.
In this post, I’ll walk you through how you can use Make.com to automate the process of connecting the dependency column to the previous item or task in monday.com. This setup is a game-changer for streamlining project workflows, especially when you’re handling complex projects with sequential dependencies.
The Problem: Manually Connecting Dependencies
The dependency column is a powerful feature in monday.com, allowing users to create relationships between tasks. It enables functionality like:
- Automatic adjustment of due dates when a dependent task’s timeline changes.
- Visibility into task relationships, ensuring smoother project execution.
By default, monday.com doesn’t provide a built-in option to automatically set a task’s dependency to the item directly above it (or any other logical sequence). For teams with dozens or hundreds of tasks, manually assigning dependencies is not only tedious but prone to error.
What many of my clients need is a way to automatically create these connections when tasks are added or updated on a board. This ensures consistency and accuracy while saving significant time.
However, setting up these dependencies manually can be time-consuming, especially when managing large-scale projects or repeating similar workflows. That’s where Make.com comes in.
Implementing the Solution: Automate Dependencies with Make.com

Make.com offers the perfect solution for automating the dependency column in monday.com. By setting up a scenario, you can automatically connect a task’s dependency to the previous item (or any other task based on your logic). Here’s how to implement this solution step-by-step:
Step 1:
Download the .json blueprint (3 KB) to get started. I won’t even ask for your email address in exchange 😌!
Step 2:
Log in to your Make.com account (or create one here if you don’t have one).
Step 3:
Click the + Create a new scenario button (top right).
Step 4:
In the action menu, click on the 3-dots and then on “import blueprint” and choose the downloaded file:

Step 5:
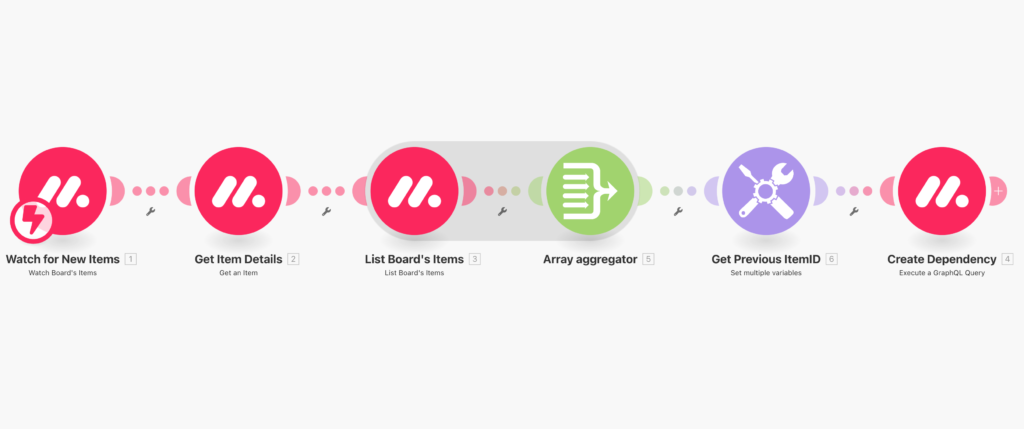
Once the scenario is loaded, click on the first module “Watch for New Items” and add a webhook. (Note: you may need connect your monday.com account to Make via the API key. Click here to find how to locate your API key). Connect it to your board and select “Item’s Creation” in the Update Type.
Step 6:
Click on modules 2, 3 and 4 and select your API connection from the dropdown list to complete the link to your monday.com account.
Step 7:
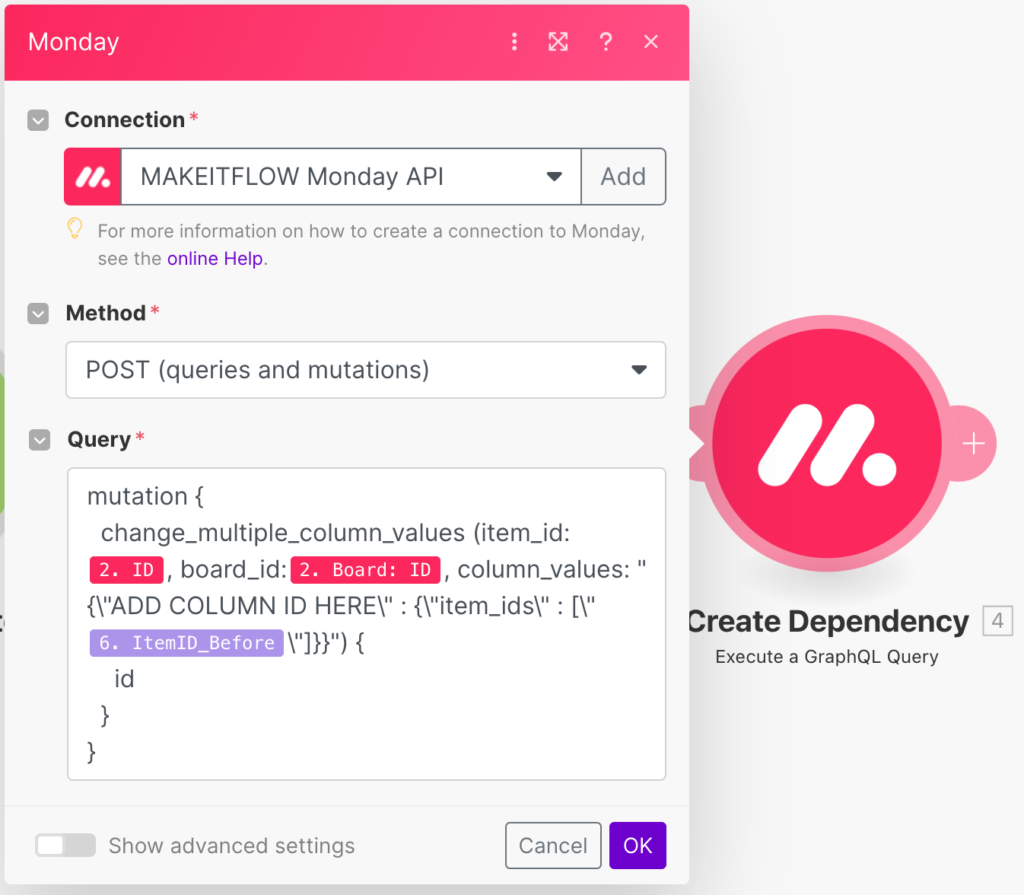
In module 4 (Create Dependency), make sure to replace “ADD COLUMN ID HERE” in the query box with the column ID for the Dependency column in your board. Click here to learn how to find the Column ID.

Step 8:
That’s it! Test out the automation by activating it in Make and adding a new item to your linked monday.com board.
Need Help Customizing this Automation to Your Needs?
Are you looking to customize this automation so that it works with subitems, or perhaps connects to more than one item on your board? Contact us today to discuss how we can implement this make.com automation for your organization!


